Sunny's Corner
“Hey! Welcome to Sunny’s corner. I mainly put up DIY tips, ask me questions @_sunny_t_ on Instagram." -Sunny himself
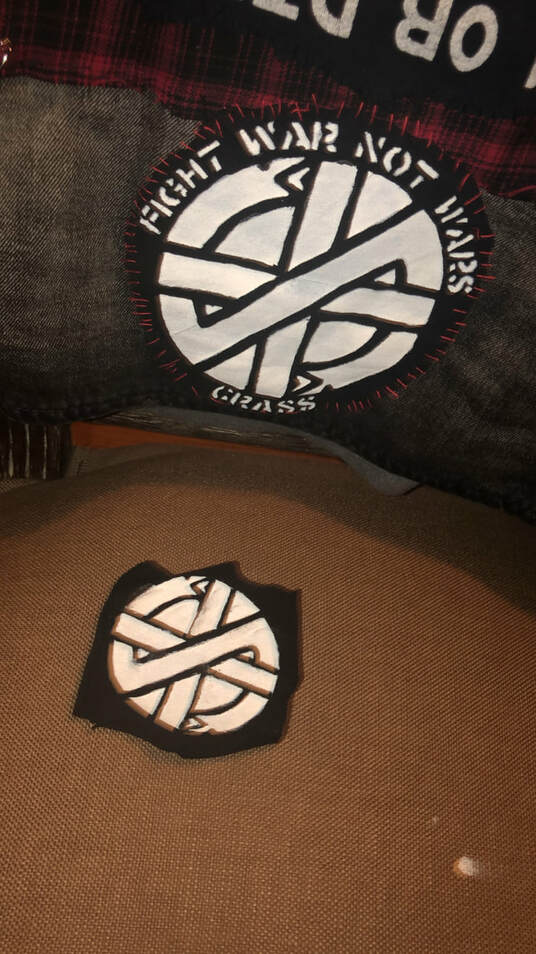
How to make DIY patches
What you'll need: acrylic paint, patch fabric, masking tape, an exacto knife (the ones that look like pens), printer, scissors, cutting surface, sponge brush/pair roller (sponge brush recommended).
- Find a design you want to do and print
- Cut off excess paper (leave some extra space so you have room to cut)
- Tape the bottom of the design will you're comfortable with the thickness. Just thick enough to not be too bendy.
- Then, cut out the design using the exacto knife.
- After it's cut, get your fabric and lay the cut out design on it (tape or pin in down if needed).
- Use your brush (sponge or roller recommended) and dab it with multiple thin layers of black paint. This will keep the design from bleeding. Let dry.
- Use the same brush and dab it with multiple thin layers of white paint.
- Let it dry, and quickly peel off the stencil, and voila! You have yourself a patch.